PC Building Thread

Y2K

Well-Known Member
Joined
May 3, 2020
Messages
1,169
Location
Earth C137
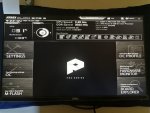
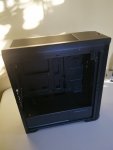
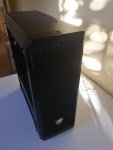
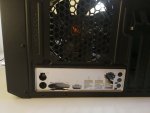
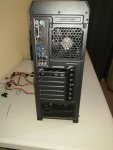
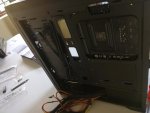
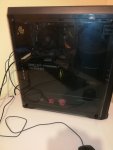
Waiting for Takealot to deliver the rest of the parts but I'll be starting the build on Monday.
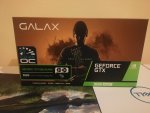
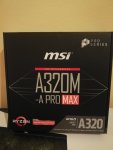
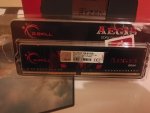
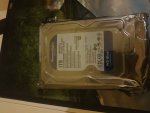
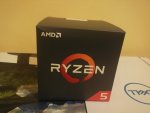
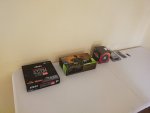
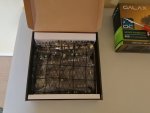
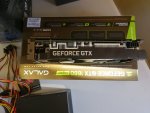
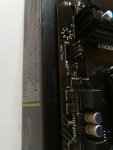
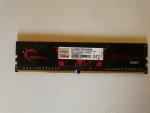
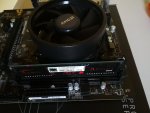
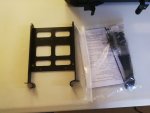
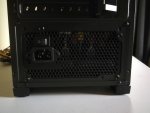
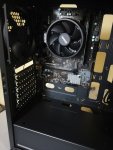
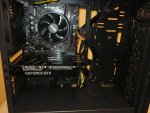
Buddy had a really tight budget he wasn't prepared to make any sacrifices when it came to buying parts second hand, he needed a monitor along with a keyboard as well. 14k was kind of tight but I managed to squeeze out something reasonable in my opinion. Granted the motherboard is not the best and the CPU will run at stock speeds, no SSD but this dude doesn't care he prefers the storage over speeds and just wants something better than his PS4, he's not trying to break records just play the latest titles at decent settings.
IMG_20200614_005337.jpg
IMG_20200614_005720.jpg
IMG_20200614_005506.jpgIMG_20200614_005552.jpgIMG_20200614_005619.jpgIMG_20200614_005449.jpg
 

Textile Guy

Well-Known Member
Joined
May 1, 2020
Messages
1,187
Waiting for Takealot to deliver the rest of the parts but I'll be starting the build on Monday.
Buddy had a really tight budget he wasn't prepared to make any sacrifices when it came to buying parts second hand, he needed a monitor along with a keyboard as well. 14k was kind of tight but I managed to squeeze out something reasonable in my opinion. Granted the motherboard is not the best and the CPU will run at stock speeds, no SSD but this dude doesn't care he prefers the storage over speeds and just wants something better than his PS4, he's not trying to break records just play the latest titles at decent settings.

Do try to get an SSD over the HDD.
It makes everything faster ......
 

Y2K

Well-Known Member
Joined
May 3, 2020
Messages
1,169
Location
Earth C137
Received the case, power supply and keyboard.
Let's get started ladies and genitals.
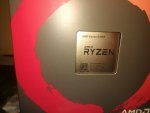
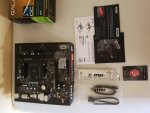
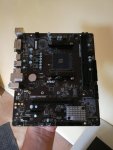
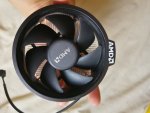
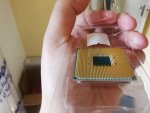
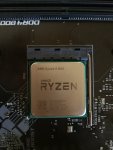
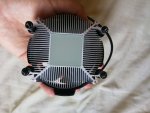
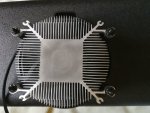
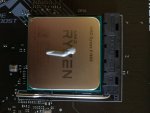
Unboxing Motherboard and CPU then removing the thermal compound that comes with the stock cooler and applying some Corsair performance thermal paste I have from a previous build.

This was the very first AMD build I've done, every previous build has always been Intel.

IMG_20200615_110901.jpg
IMG_20200615_140350.jpg
IMG_20200615_140633.jpg
IMG_20200615_140544.jpgIMG_20200615_145044.jpg
IMG_20200615_141456.jpg
IMG_20200615_144722.jpg
IMG_20200615_145051.jpg
IMG_20200615_145638.jpg
IMG_20200615_145710.jpg
 

Y2K

Well-Known Member
Joined
May 3, 2020
Messages
1,169
Location
Earth C137
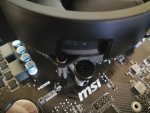
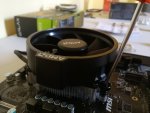
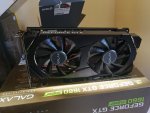
More is less when it comes to thermal paste you want it to transfer heat from the CPU to the fan as efficiently as possible next apply the stock cooler and use a Phillips screwdriver to tighten the screws till it's tight but be careful not to overtighten the screws, they have springs that keep tension between the backplate and cooler. Ram is easy enough to install just ensure you have it the right way around, push down from the top on either side till you hear 2 clicks, I recommend putting the motherboard on the box it came in to prevent damaging it or the solder underneath. Next is the GPU. I always test every component to see if it P.O.S.T's before I take the time to install it in the case and cable manage everything.

IMG_20200615_150158.jpg
IMG_20200615_150740.jpg
IMG_20200615_150511.jpg
IMG_20200615_150936.jpg
IMG_20200615_160510.jpg
IMG_20200615_160514.jpg
IMG_20200615_150951.jpg
IMG_20200615_151121.jpg
IMG_20200615_151300.jpg
IMG_20200615_160155.jpg
 
Last edited:

Y2K

Well-Known Member
Joined
May 3, 2020
Messages
1,169
Location
Earth C137
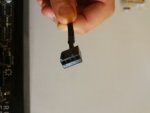
All components work correctly so we can go ahead and assemble the computer. First thing to do is install the IO shield and install the stand off screws, then the power supply then the motherboard and install the front panel connectors, USB 3 cable and graphics card with its 8 pin power connector. You absolutely must install the mounting screw for the graphics card otherwise you'll have a sagging card and in time a broken PCI-E Slot. Cable management we do once we confirm everything is working 100%.
IMG_20200615_161810.jpg
IMG_20200615_161834.jpgIMG_20200615_162511.jpg
IMG_20200615_162108.jpg

IMG_20200615_171409.jpg
IMG_20200615_171324.jpg
IMG_20200615_182009.jpg
IMG_20200615_182138.jpg
IMG_20200615_171334.jpg
 

Y2K

Well-Known Member
Joined
May 3, 2020
Messages
1,169
Location
Earth C137
All in all this was fun, pretty simple, building a PC may seem intimidating but it's just like adult lego blocks.
I'll be adding led lighting for him at a later stage along with an M.2 ssd.

This was done in my makeshift testbench area so I'll be updating the machine and installing everything.

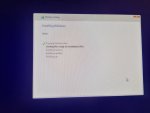
Pro tip: If you're running Windows you can go to www.ninite.com to download all your basic software. Key bought from Carbonite.co.za
IMG_20200615_192145.jpg
IMG_20200615_192154.jpg
IMG-20200615-WA0096.jpeg
 
Top